How to design training sessions with Longoboard
None
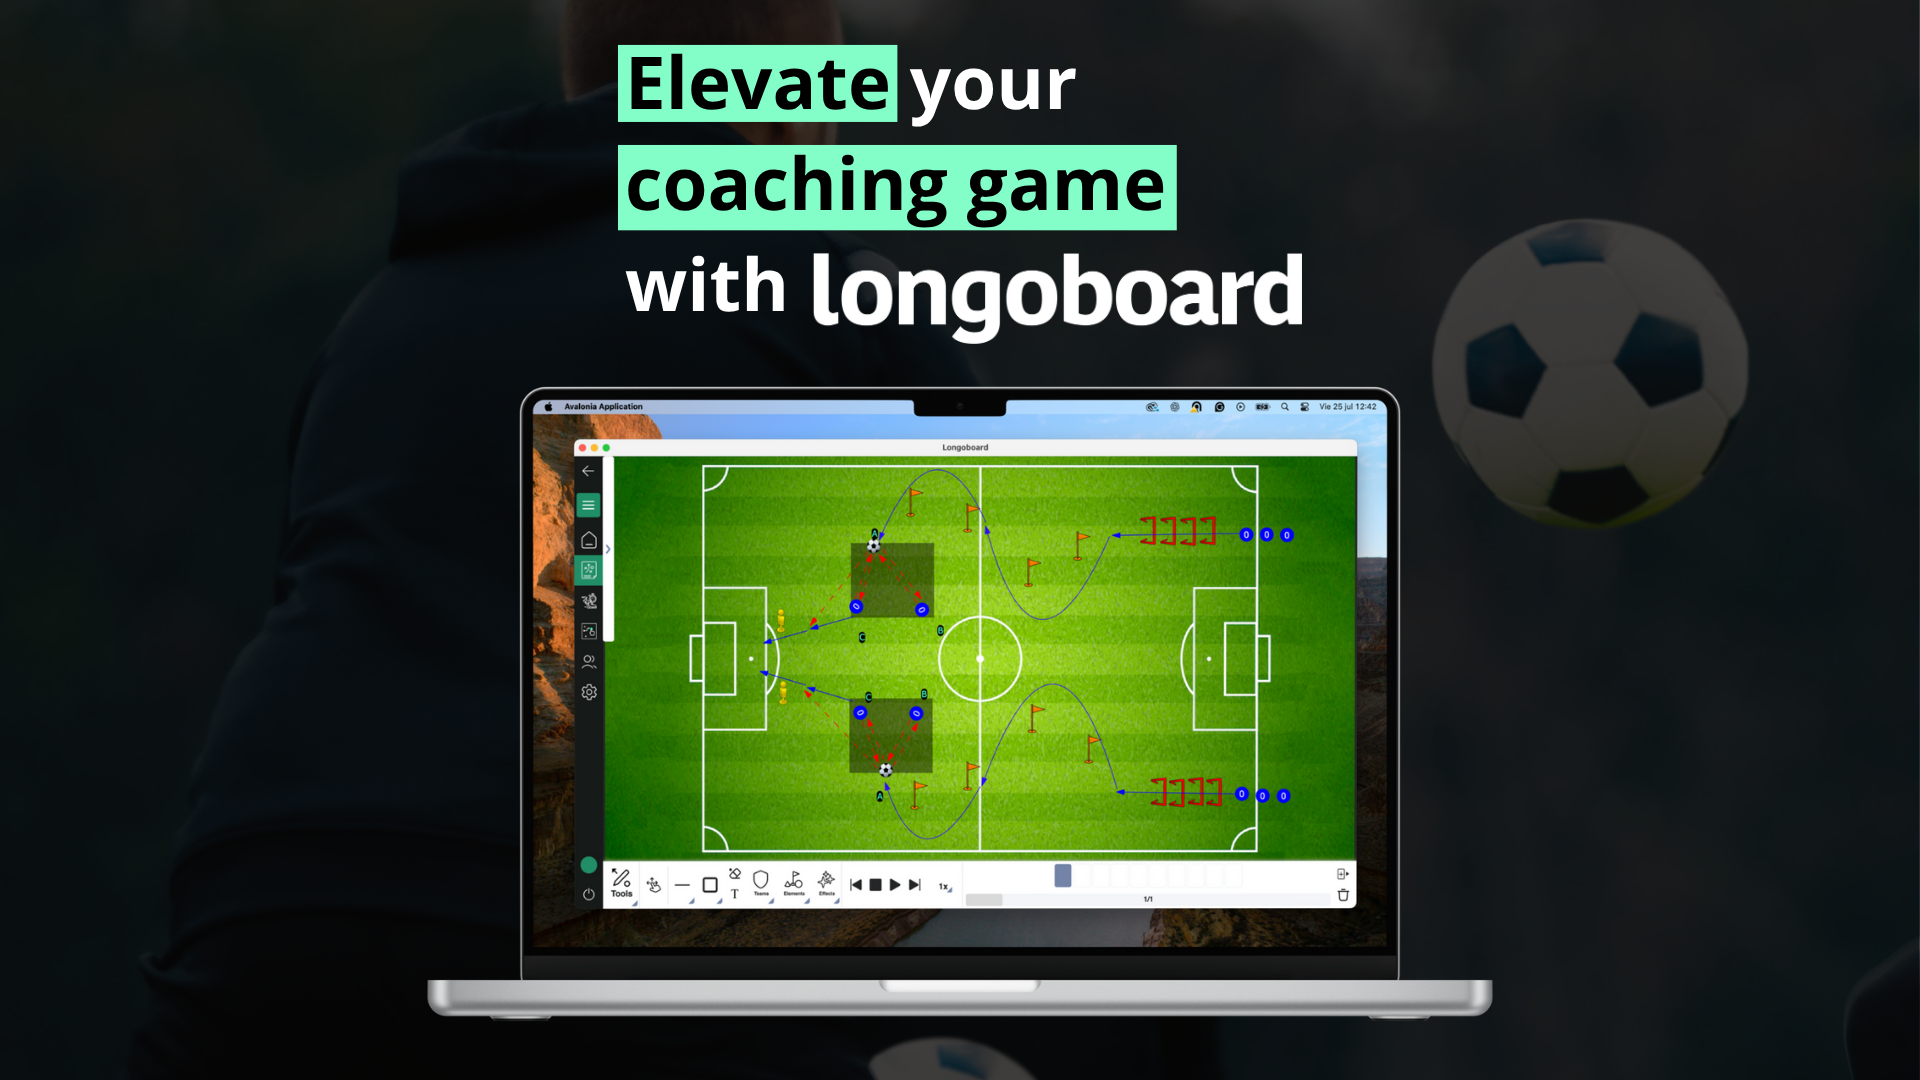
How to Create and Organise Your Training Sessions from Scratch with Longoboard
In the world of sports coaching, clarity and organisation are essential. Designing clear drills, building structured sessions, and sharing them visually and dynamically can give any coach a real edge. In this post, we’ll show you how to create, customise and export complete training sessions in Longoboard, step by step.
1. Create Your Team in Seconds
📸 Suggested image: Screenshot of the “Add new team” interface showing name, badge, colours, and category fields.
Everything starts with your team. From the main menu, click on the team icon and select “Add new team”. You’ll be able to input all the key details: name, badge, colours and category.
Once the team is set up, you can start adding players with their name, surname, nickname, position, shirt number, and even personal notes — creating a full squad to use across your tasks.
2. Design Your First Training Task
📸 Suggested image: Task creation screen showing the sport-specific pitch selection (full vs half pitch, futsal, etc.)
Click on “task” to access your chosen sport’s pitch. You can easily switch between different types of fields depending on your training context — whether that’s full pitch, half pitch, or switching from football to futsal.
📸 Suggested image: View of the “tools” menu, with players added via “Teams” or “Additional player”.
From the “tools” menu, you can import players directly from previously created teams or add new ones manually. This flexibility is ideal for building real scenarios or testing new tactical setups.
3. Customise and Enrich Your Exercises
📸 Suggested image: Players with different colours and opacity, plus several elements (balls, cones, goals) on the field.
To improve clarity, you can colour-code your players by team or role and adjust opacity.
Click on “elements” to add helpful visual aids like footballs, cones, goals and more. All tools are adapted to each sport, making the creation process intuitive and effective.
4. Bring Your Tasks to Life with Frames
📸 Suggested image: Sequence of frames showing player movement and arrows indicating runs or passes.
Want to show progression and movement? Use frames to animate your drill. Simply duplicate a scene, move players, reposition elements, and add arrows to illustrate tactical intent.
You can hide items from one frame to the next to create cleaner transitions. When done, press play to preview the animation.
5. Add Descriptions and Export Your Work
📸 Suggested image: A completed “Card” with description fields filled in.
Once your drill is complete, click on “Card” to write up important details: objectives, duration, materials needed and more.
Then export it to PDF (or another format) to share with your players or coaching team. The final result is a clean, professional-looking document ready to use.
6. Build Complete Training Sessions
📸 Suggested image: A training session screen showing several drills listed and session details filled in.
With your exercises ready, it’s time to create a session. Click on “Create a new training session”, select the drills you want to include, and complete the session information.
You can export the session as a PDF and share it with your team or save it as part of your season’s planning.
Conclusion
Longoboard offers an intuitive, visual and powerful platform to take your training planning to the next level.
Whether you coach youth players, elite athletes or amateur teams, it helps you save time and communicate better with your squad.
Haven’t explored all its features yet? Start today and revolutionise your training sessions.